A well-formatted and -presented legal document can go a long way toward enhancing readability. However, worrying about consistent formatting can seem trivial when it’s the content that really matters.
If (like me) you’re a bit of a pedant for a consistently-presented document, then you may have spent a lot of time manually making titles a certain size, making headings bold, indenting quotes, and so on.
All that time can be saved, however, by investing a little initial effort in setting up your preferred formatting with Word’s “Styles” feature.
By the way, unless otherwise specified, these instructions are for Word 2016, though instructions will be very similar in previous versions back to 2007).
Want to learn the secrets to better legal writing? Download our free ebook >>
What are Styles in Microsoft Word?
Think of Styles as a set of predefined formatting instructions that you can repeatedly use throughout a document.
For example, let’s say that you’d like for every heading in a document to be bold, centered, uppercase, and in a larger font than your paragraphs. You could go through and manually apply this formatting every time you write a heading. Or you could store the formatting commands in a Style to be used at the click of a button when you need it.
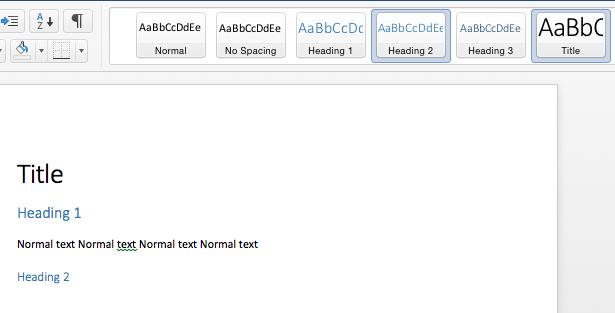
The Styles ribbon (the bar of styling options at the top of the page) has been present in every version of Word since 2007. However, despite this, many assume that the default settings (which are, for some reason, large and blue) are the only Styles available. As it turns out, that’s not true. Styles are, in fact, a very useful feature of Word which, if you use them correctly, can save you a lot of time you’d otherwise spend formatting.
Applying a style to your text is easy. Just select the text with your mouse and, while the text you want to format is highlighted, click on your preferred Style in the ribbon. Your text will be re-formatted to the selected Style.
Viewing (and modifying) existing Styles
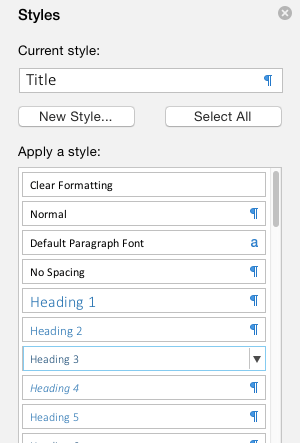
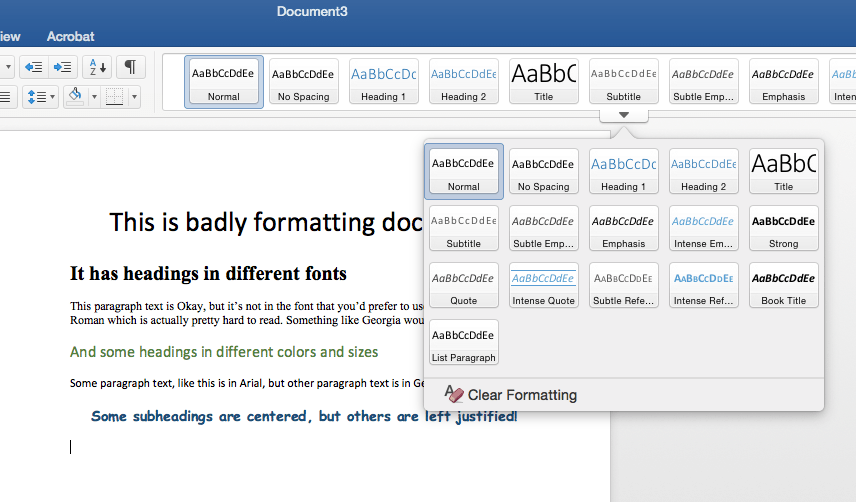
All versions of Word since 2010 have included a large number of Style elements (2007 has this feature, but fewer options are available). By default, the Styles ribbon shows only the most commonly used, but in fact there are more than 50 options available. If the Style you want isn’t visible in the ribbon, simply click the Styles dialog launcher (the small arrow in the right-hand corner of the Styles ribbon) and choose from the list.
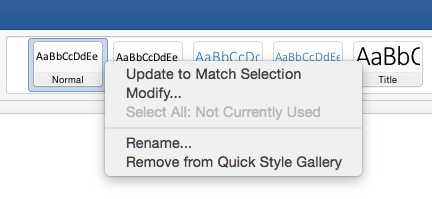
What if there’s a Style that you like, but your law firm uses, say, Georgia rather than Calibri, or you’d prefer for titles to be in black rather than blue? No problem. Just right-click on top of the Style element and select Modify.
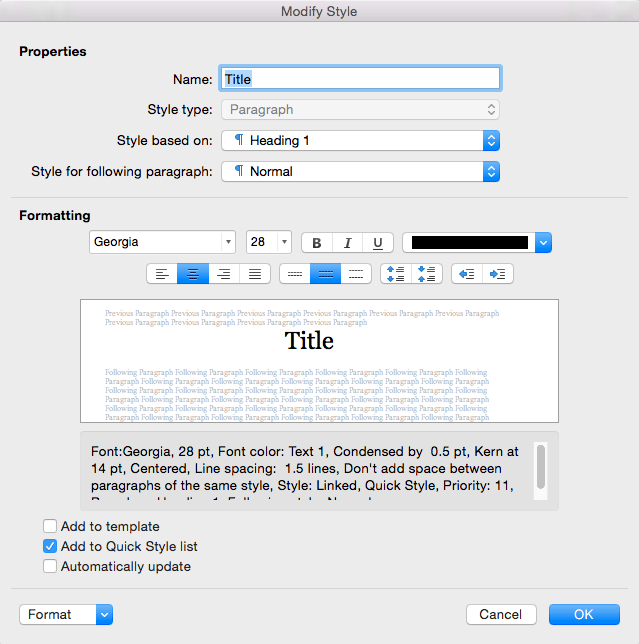
The Modify Style dialog box will open. Here, you can amend all aspects of the selected Style element. You can also choose whether to apply your changes only to the document you’re currently working on or to all future documents you create.
Creating your own Style
What if you’ve got a whole set of formatting at your firm that you have to use often but isn’t available in the Styles ribbon? No problem — you can create Styles in a few easy steps.
First, format your text the way you want the Style to appear (or choose some text that’s already formatted in the way you would like), select it with your mouse, and in the Styles Gallery drop-down list choose, Save Selection as a New Quick Style. Give the new Style a name, click OK, and you’re set!
The style will automatically appear in the Styles Gallery. You can now apply your style to any text by selecting it and clicking the Style’s name in the Gallery. If you want the style to be available for all future documents you create, right click its name in the Style Gallery, choose Modify, click the New documents based on this template option button, and select OK. Word will save the style into the template.
Use Styles to clean up after others
How often have you received a document that you’ve been told is ready to file or send, but in fact requires major editing? I’ll bet it happens every now and then. Fortunately, with Styles, you can speed up the tidying process substantially.
First, clear the formats applied by the document’s previous author. To do this, select all of the text in the document (CTRL+A will do this) and then click Clear Formatting in the Style menu to remove all of the formatting. Don’t worry; you can get all of the previous formatting back immediately by pressing CTRL+Q.
Once everything is cleared, you can quickly apply the correct formatting using the Styles you have pre-set in your Styles ribbon!
Learn more about legal writing
Let’s face it: focusing on the content of a piece of legal writing is hard enough. However, following a few simple style and formatting rules, and being aware of common legal writing errors, can substantially improve the readability of your documents.
Learn how to make your legal writing more readable with our free ebook >>