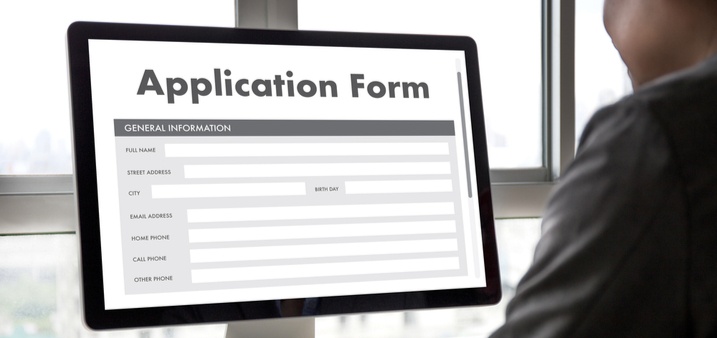
Creating an electronic form is a relatively simple process. However, creating a form that others can fill out online can be a little trickier, unless you have the proper tools and know-how.
Here is everything you need to know about creating fillable Word and PDF forms that can be shared online:
Making a Word document fillable
To make a Word document fillable, you are going to have to begin with a template and then add content controls. Here is a summary of the steps involved:
In a Word document:
Step 1: Add the Developer tab
- Click on File> Options> Customize Ribbon.
- Under Customize Ribbon, select the Developer checkbox and click OK.
Step 2: Add Content Controls
- Go to the Developer tab and click Design mode.
- To the left, you will also find “controls” or form fields for insertion such as text, a combo or drop-down list, date picker, and checkbox controls.
Step 3: Customize content control settings and format
- Highlight the content control you created.
- Click on Properties on the Developer tab.
Step 4: Add instructional text
- Ensure Design Mode is still on by clicking on it from the Developer tab
- Click inside the control to edit the current instructional text.
- Click Design Mode again to save the instructional text and turn off the design feature.
If desired, add protection to the form:
Click Home> Select> Select All> Developer> Restrict Editing and set your restrictions as appropriate.
After you complete these steps, you will have created a fillable word document. Be sure to test the form before you distribute it. Read more>>
Creating a fillable PDF
To create a fillable PDF form from a scanned paper document, non-interactive PDF form, spreadsheet, or a Word document, you will need to install a PDF editing software onto your computer, such as Adobe Acrobat DC.
Using Adobe Acrobat DC, open the program and follow the steps below:
Step 1: Prepare to create a form
- Click the Tools menu then click Prepare Form
Step 2: Choose a file
Select the document you wish to import into Acrobat.
- Click Select a File. This will allow you to import your form from another file, including Word, Excel, or a non-fillable PDF. Or, if you prefer to scan a paper document, click Scan a document and follow the directions. Select the document you wish to import into Acrobat.
- Click Start. The app will create fillable fields based on the document imported.
Step 3: Add form fields
- To edit form fields, click the Tools menu and select Prepare Form to edit existing fields and to add new fields, menus, buttons, and lists by right-clicking.
- Click Preview to view and test your fillable PDF form.
Step 4: Edit and Save
- If you need to make changes, click Edit to return to editing mode.
- Save the form to your computer.
Step 5: Distribute and Track
- Click Distribute and select how you want to receive the form results: via email or internal server.
- Enter the email address(es) you’d like to send the form to. Select your tracking preferences – you can choose to see a person’s name and email address in their response or allow for anonymous submissions.
Follow the on-screen instructions when sending the form, which will appear in your recipients’ inboxes as an attachment.
Fillable PDF forms have taken the place of official paper documents, and because of the high level of security offered, PDF is the most popular file format for sharing documents online.
“Flattening” a fillable form
When using a fillable PDF form, after completion the user must “flatten” the document to make sure that it can be viewed on all devices and to prevent others from changing the information. If a document is created and redacted in Word, it is possible to view the redacted words after the document has been converted to a PDF document, so redacting should be done in Adobe, not Word.
Here’s how to flatten a completed fillable PDF form:
- Open the fillable form and add the appropriate data.
- Right-click on the document and select Print.
- Select the “Adobe PDF” printer and click OK.
- Specify the location where the printed, flattened version of the form will be saved and select Save.
Saving a fillable form
In Word:
Once you have completed your fillable form in Word, you are ready to save it as a document template. Before doing so, on the Developer tab to prevent inadvertent changes. After you save the form, you can close it on your screen.
When you want to use it, just click File> New> Personal, and the template you created will be displayed and ready for use when you select it.
In Adobe:
To enable the fields of a fillable PDF form to be saved, launch Adobe Reader. Then click File> Open> and then the PDF form you need to make savable. Click the Advanced menu tab> Extends Forms Fill-In & Save in Adobe Reader. This will enable those who complete the form to fill it in, type in their digital signature, and then save the form.
If you still have trouble saving form data, please refer to this Adobe support article.
Do you know anything else about fillable forms? Tell us about it in the comments!


